

The Scottish Council for Voluntary Organisations is the membership organisation for Scotland's charities, voluntary organisations and social enterprises. Charity registered in Scotland SC003558. Registered office Mansfield Traquair Centre, 15 Mansfield Place, Edinburgh EH3 6BB.
Reporting
Introduction
Milo holds a vast amount of different types of information e.g.:
- Organisations
- Contacts
- Volunteer Opportunities
- Volunteer Registrations
- Interactions
Reporting helps you to extract the specific information that you require from the data held on Milo. Some examples of simple questions that reporting can answer include:
- How many registered charities are there within my TSI area?
- How many volunteering opportunities are currently published?
- How many interactions have I recorded this quarter?
The Reporting training module has been designed to cover the basic features of reporting, and provide you with the knowledge and understanding needed to search, view, edit and create your own reports.
Below are two videos on Reporting, they take you through the basic steps of creating a report. All of which is covered in this document. Additional reporting videos are also available here.
Building a basic Report
Creating a mailing list in Milo
Managing Reports in Milo
Click on the Reports tab at the top of the screen to go to the Reports home page.
[If you don't see Reports on the tab ribbon, check out 'Adding an object tab to your display' in module 01 to find out how to customise your tabs]
By default, you will see a list of recent Reports you have accessed.
To the left of the screen you will see your list of available Folders.
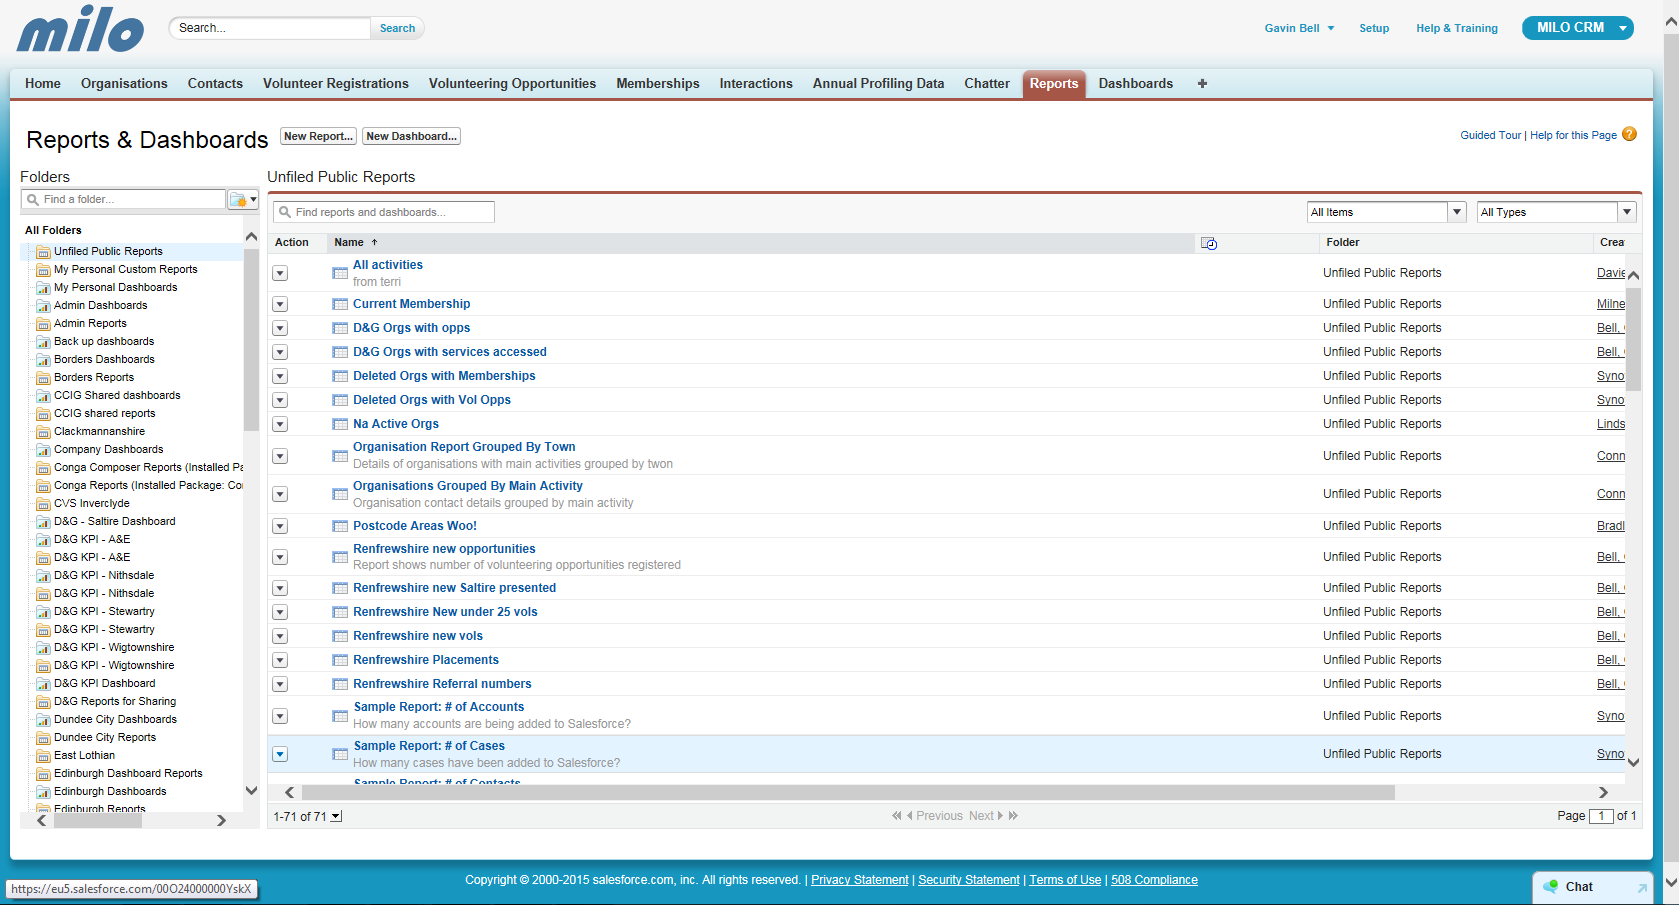
You can search for any report on the database using the Report Search box at the top of every screen. This will return any report you have permission to view from any user on the system.
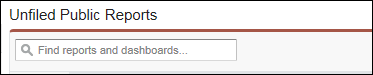
To search for a Report, simply type the name or part of the name into the search box. Try typing ‘Postcode’. You will now see any Reports with ‘Postcode’ in the title.
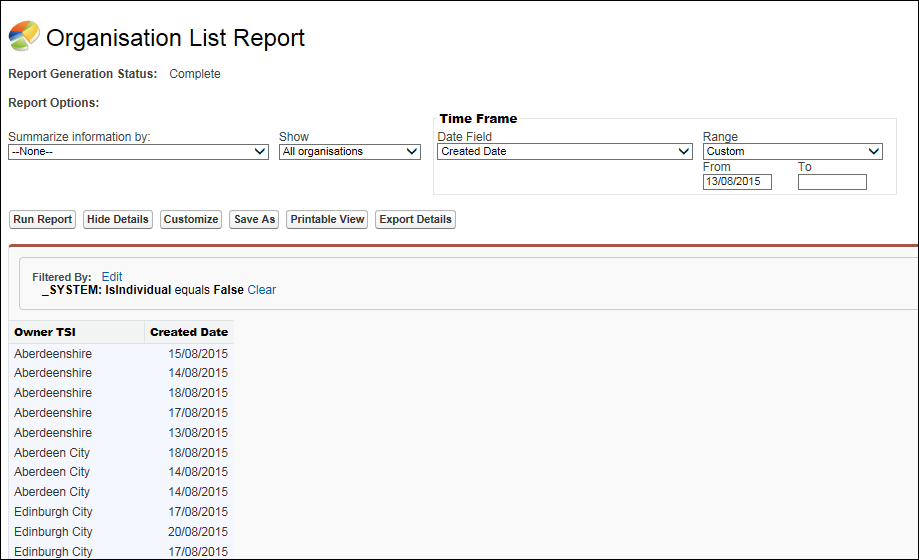
When you click into a report, you will see the Report results view screen. Scroll down to see the data retrieved from the Report:
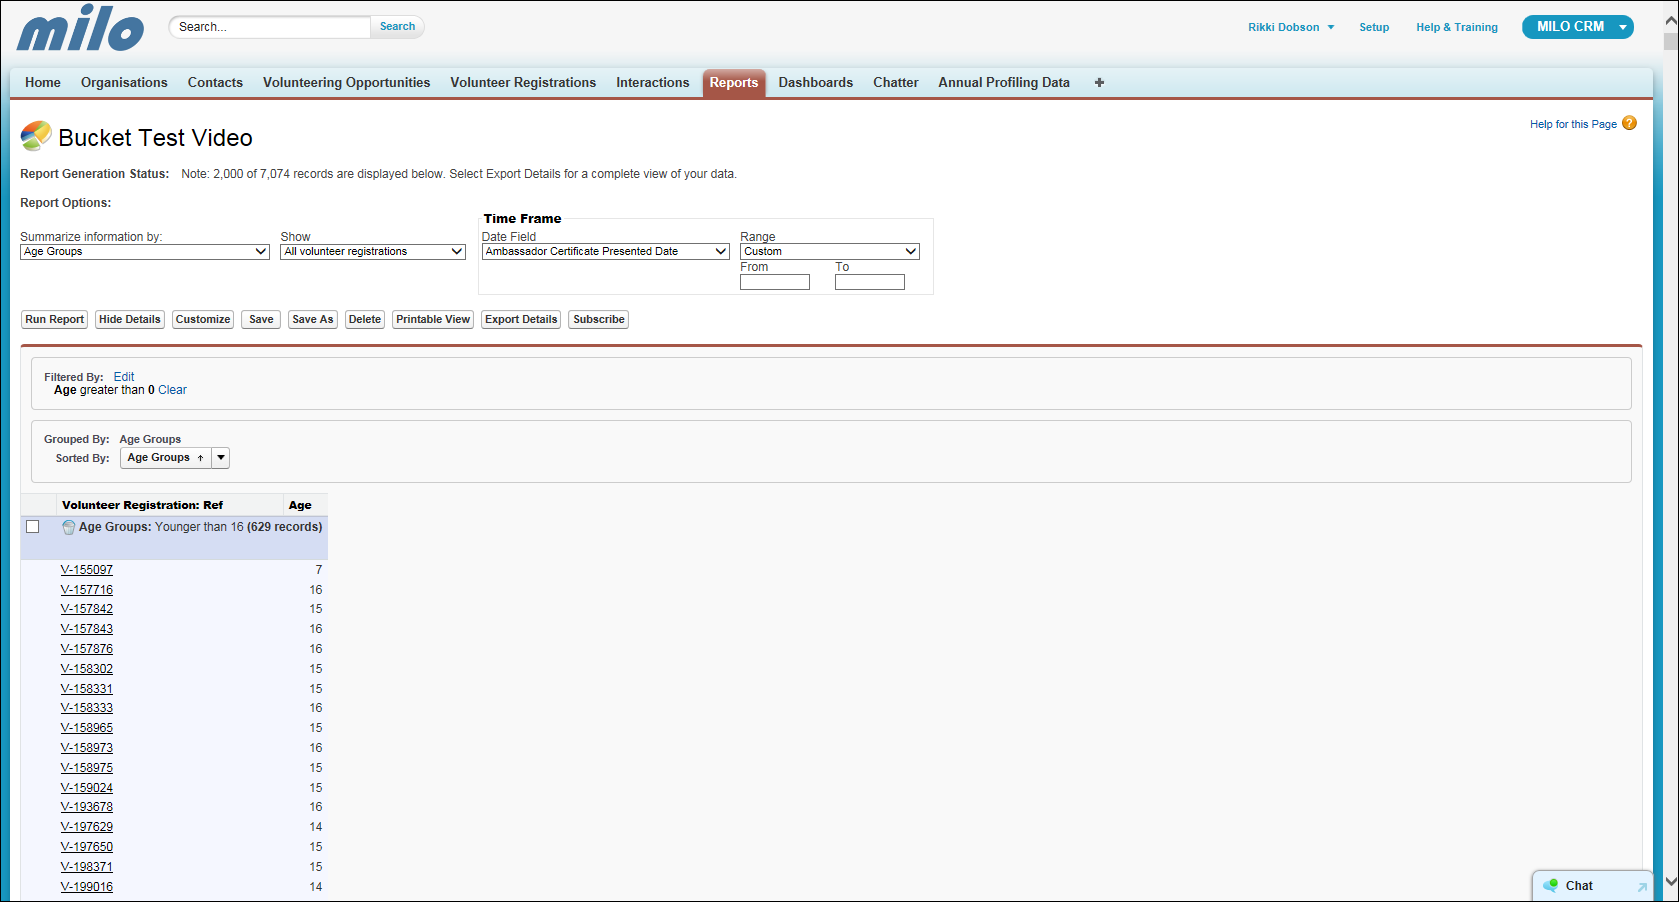
Some report options are displayed at the top of the screen.
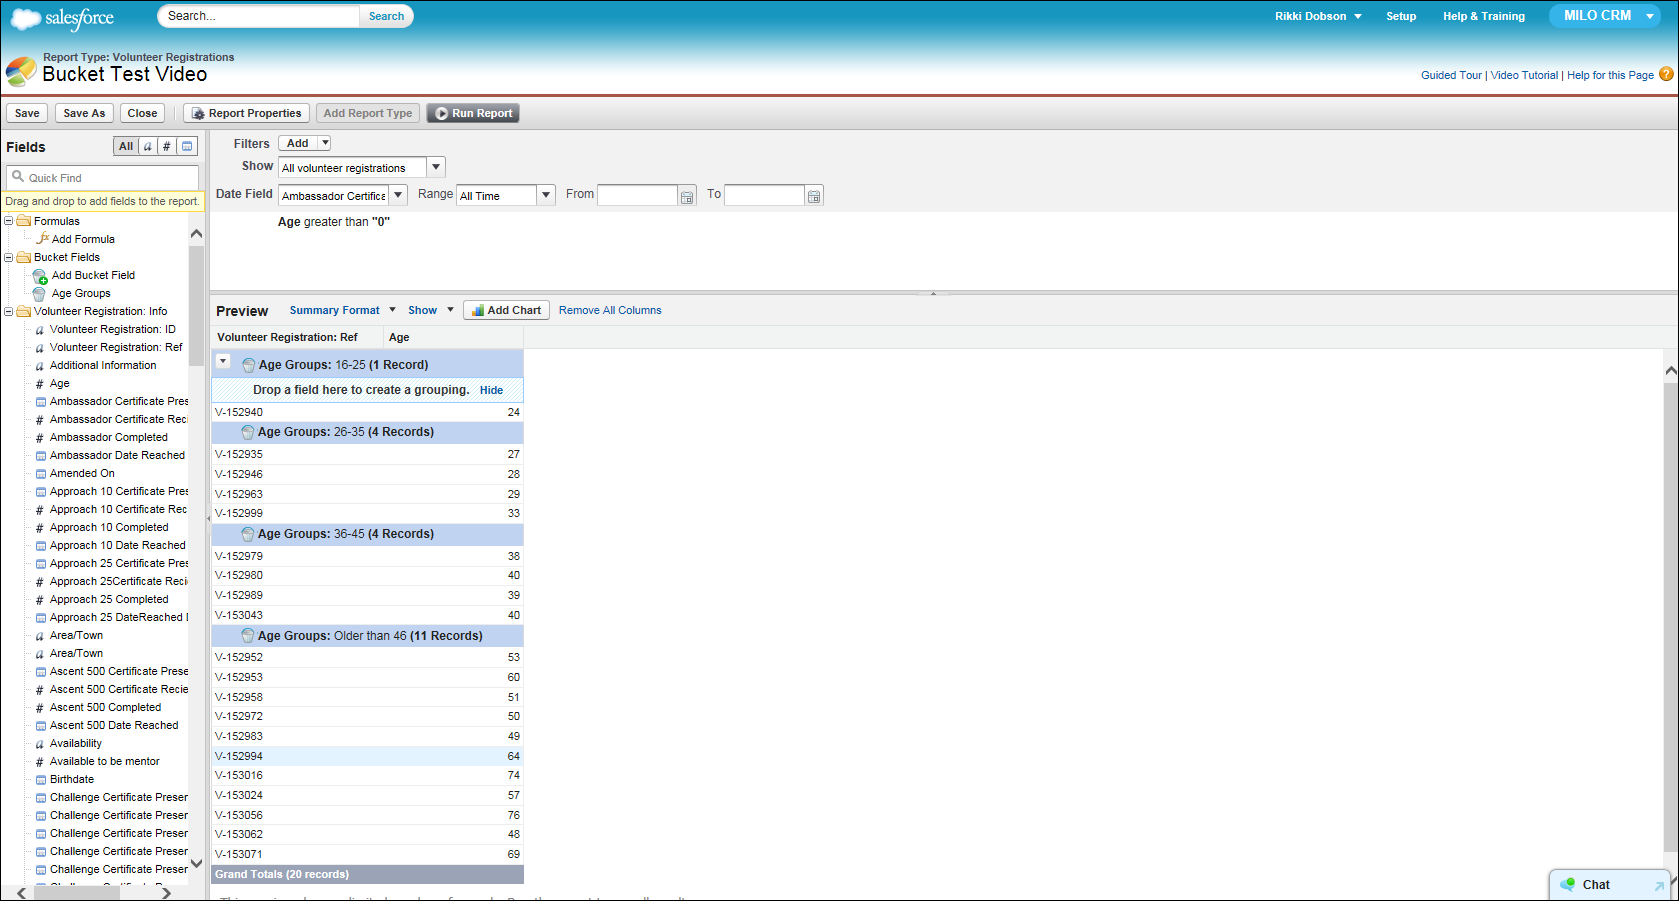
Summarize information allows you to group the records by one of the fields (e.g. organisations by postcode area)
Time Frame allows you to easily adjust the dates you want to display information for (e.g. volunteers with a Registered Date between 01/01/2018 and 31/03/2018)

To make changes to a report, click on the Customize button.
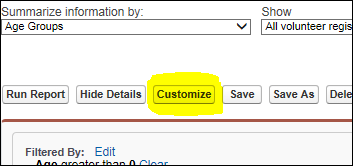
The page will open in the customize view, allowing you to update and change the fields and filters used in the report. If you want to keep the original version, remember to Save As with a new name.
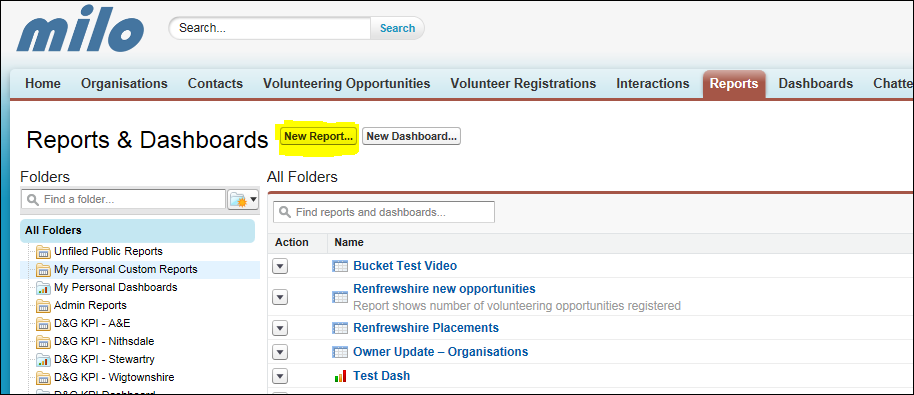
To create a report, click the New Report button at the top of the Reports page:
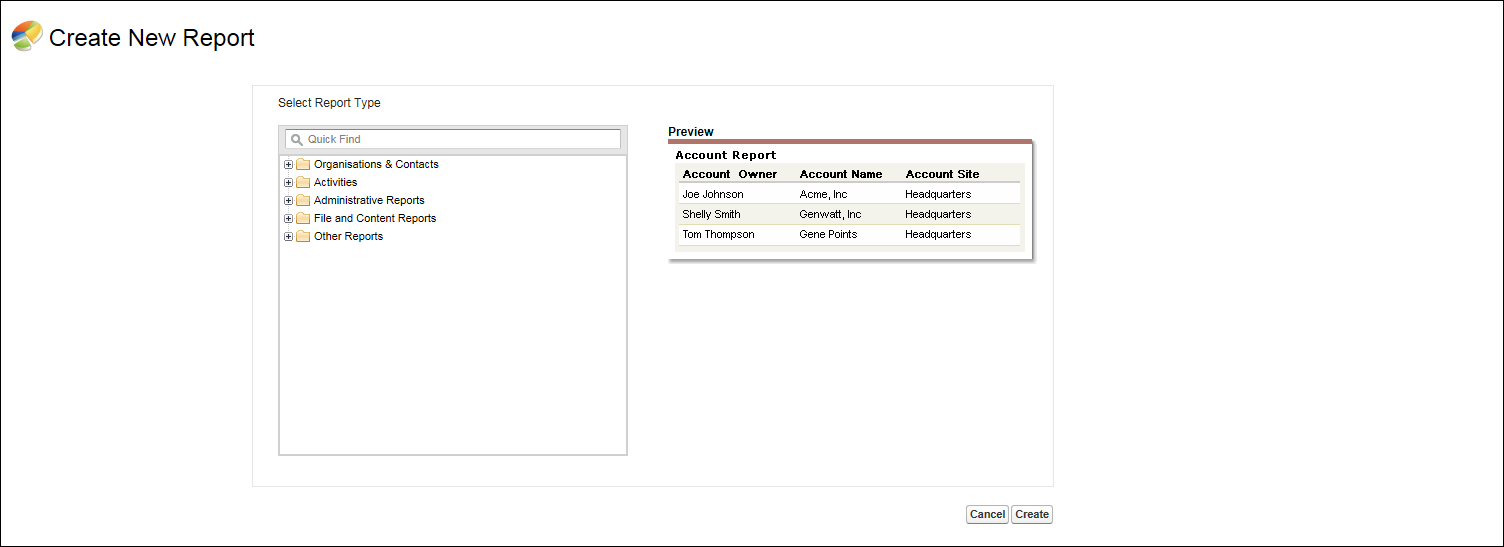
Now select a report type. The report types are based on the different objects in the system, so you may choose an Organisation report type or a Volunteer Registration report type for example.
You will notice that it's possible to combine different objects too, so if you want to draw fields from both the Organisation and Volunteering Opportunity objects, you will need to select a report type that includes both objects.
For the moment, keep it simple and pick a single object for the report type, such as Organisation.
Click Create at the bottom of the screen.
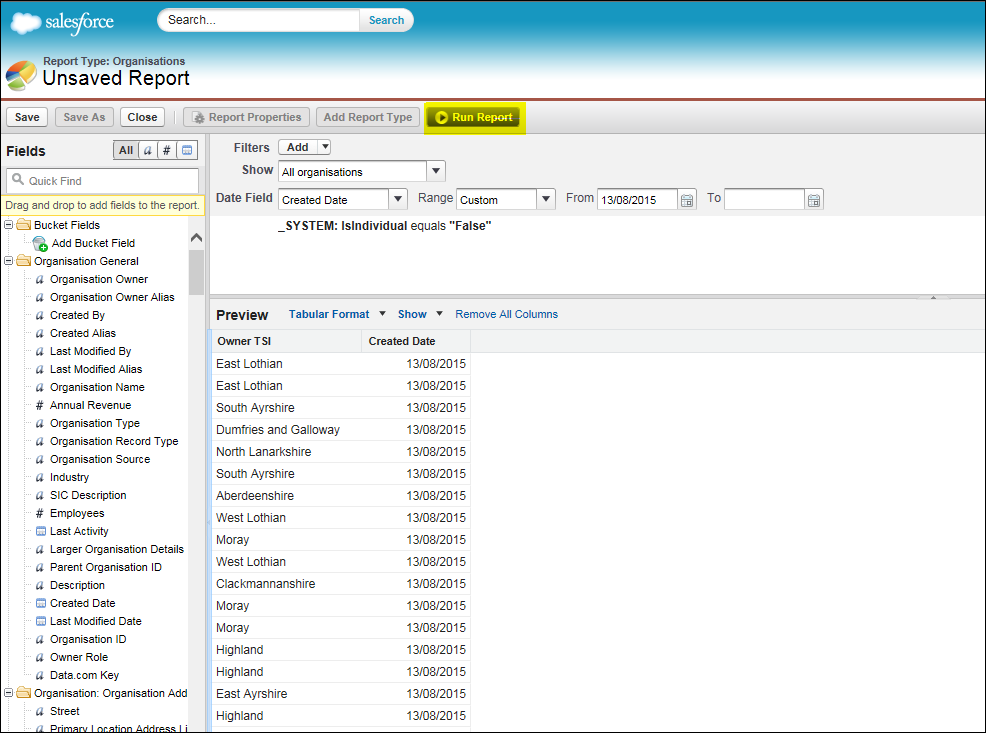
You will now be presented with the report builder screen. This looks the same no matter what report type you're using, split into three areas:
- Fields: at the left hand side is a list of all the available fields from the object you're reporting on
- Filters: at the top of the main area is place to add filters, e.g. to show records between certain dates, or to show records with a particular postcode
- Preview: the bottom of the main area is the preview pane, which will show you a sample of up to 50 records in the report you are building. This is really useful as you get to see the report results in real time as you add fields and filters
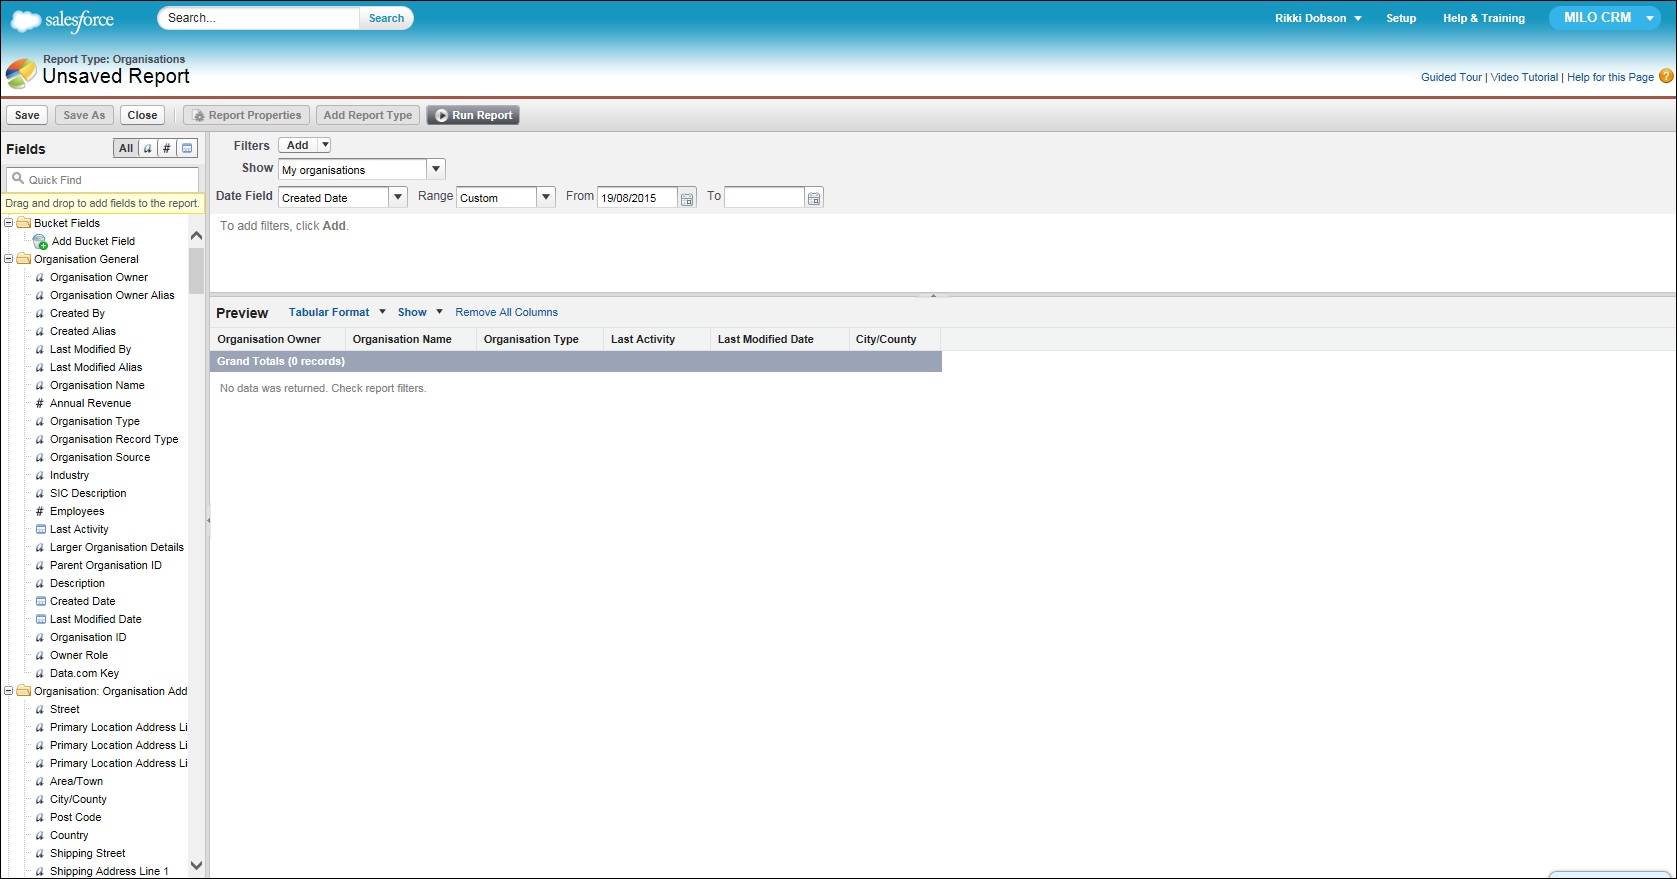
You can now begin adding fields to the report, but you might want to change the default filters first. If you look at the filter pane at the top, you will see something like this:

These default filters are set to ‘My Organisations’ and a custom date. This can cause some confusion when creating new reports.
Leaving the Show field as ‘My Organisations’ will only show the organisations that you own, setting it to ‘All’ will show all organisations on Milo.
Similarly, the date range will filter for organisations created after a certain date, so clear the From and To boxes to make sure all records display.
n.b when creating a report with Organisation data, you will need to add the ‘_System: Individual’ filter.
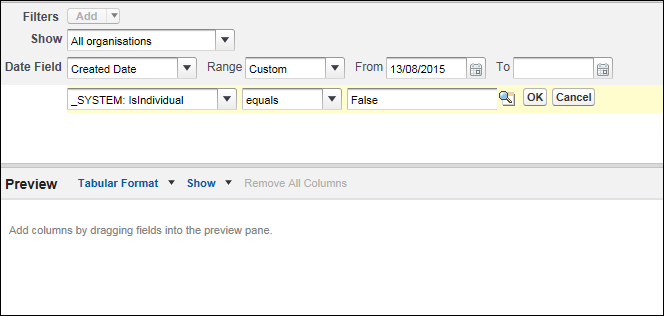
At the moment, when creating a Contact Milo also creates an organisation page for the contact. e.g. 'John Smith' appears as both a contact and an organisation. Obviously, you're only interested in real organisations.
The filter ‘_System: Individual’ equals False filters out those 'people' organisations.
The Left hand side of the screen has the list of available fields that can be used for the report. This list will display different fields depending on the type of report you choose at the start, in the Create new report page.
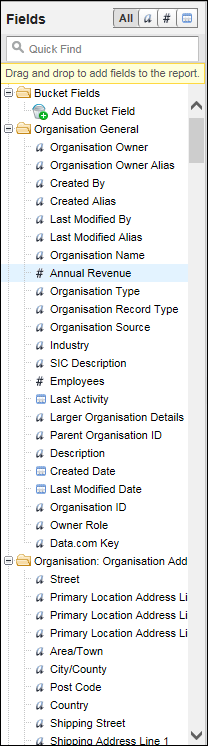
You can filter down the available fields by All, Text field, Numerical field or Date field. You can also use the Quick Find feature to find a specific field. To add fields, you can either double click them and they will appear in the report or you can click and drag them.
Once you have added everything you require for your report, simply click Run Report at the top of the page.
Once you have run the report, you will be presented with the report data. Here you can save the report, go back in and customize the report or export it to Excel or cvs.
Summary
In the Reports module, we have covered:
- Navigating to Reports
- Searching for a Report
- Viewing and editing Reports
- Creating a new Report
- Various Basic features of Reports
These skills will help you to extract the specific information that you require from the data held on Milo. You can advance these skills by experimenting with this great feature that Milo offers.
Remember - for more step by step advice, see the individual training modules. If you have any problems or get stuck, you can contact the Milo team at milosupport@scvo.scot